We had lots of fun and laughter at our January Workshop. I have shared my love for Shimmer Mist and Smooch Spritz to my lovely workshop ladies. It is amazing at just how different your project looks when you add a little Spritz or Shimmer Paint.

This is one of the cards we made. I have cased this card from Kristine McNickle using the kissing technique. I love the Medallion Stamp Set. There are so many uses for it.
I have used:
Stamp Sets: Medallion & Just Believe
Cardstock: Marina Mist, Chocolate Chip & So Saffron
Stamp Pads: Marina Mist & Chocolate Chip
Silver Foil Smooch Spritz & although you cant see it properly I have also used Champagne Shimmer Mist on the Medallion Stamp. First the Marina Mist on the Medallion Stamp then Shimmer Mist dabbed over the Marina Mist and then Just Believe (Chocolate Chip) stamp kissing the Medallion and placed onto ca

rdstock.
The next card was using:
Stamp Set: Cottage Garden, Heard from the Heart
Cardstock: Melon Mambo, Basic Black, Whisper White
I used the Spiral Border Punch to make a negative effect.
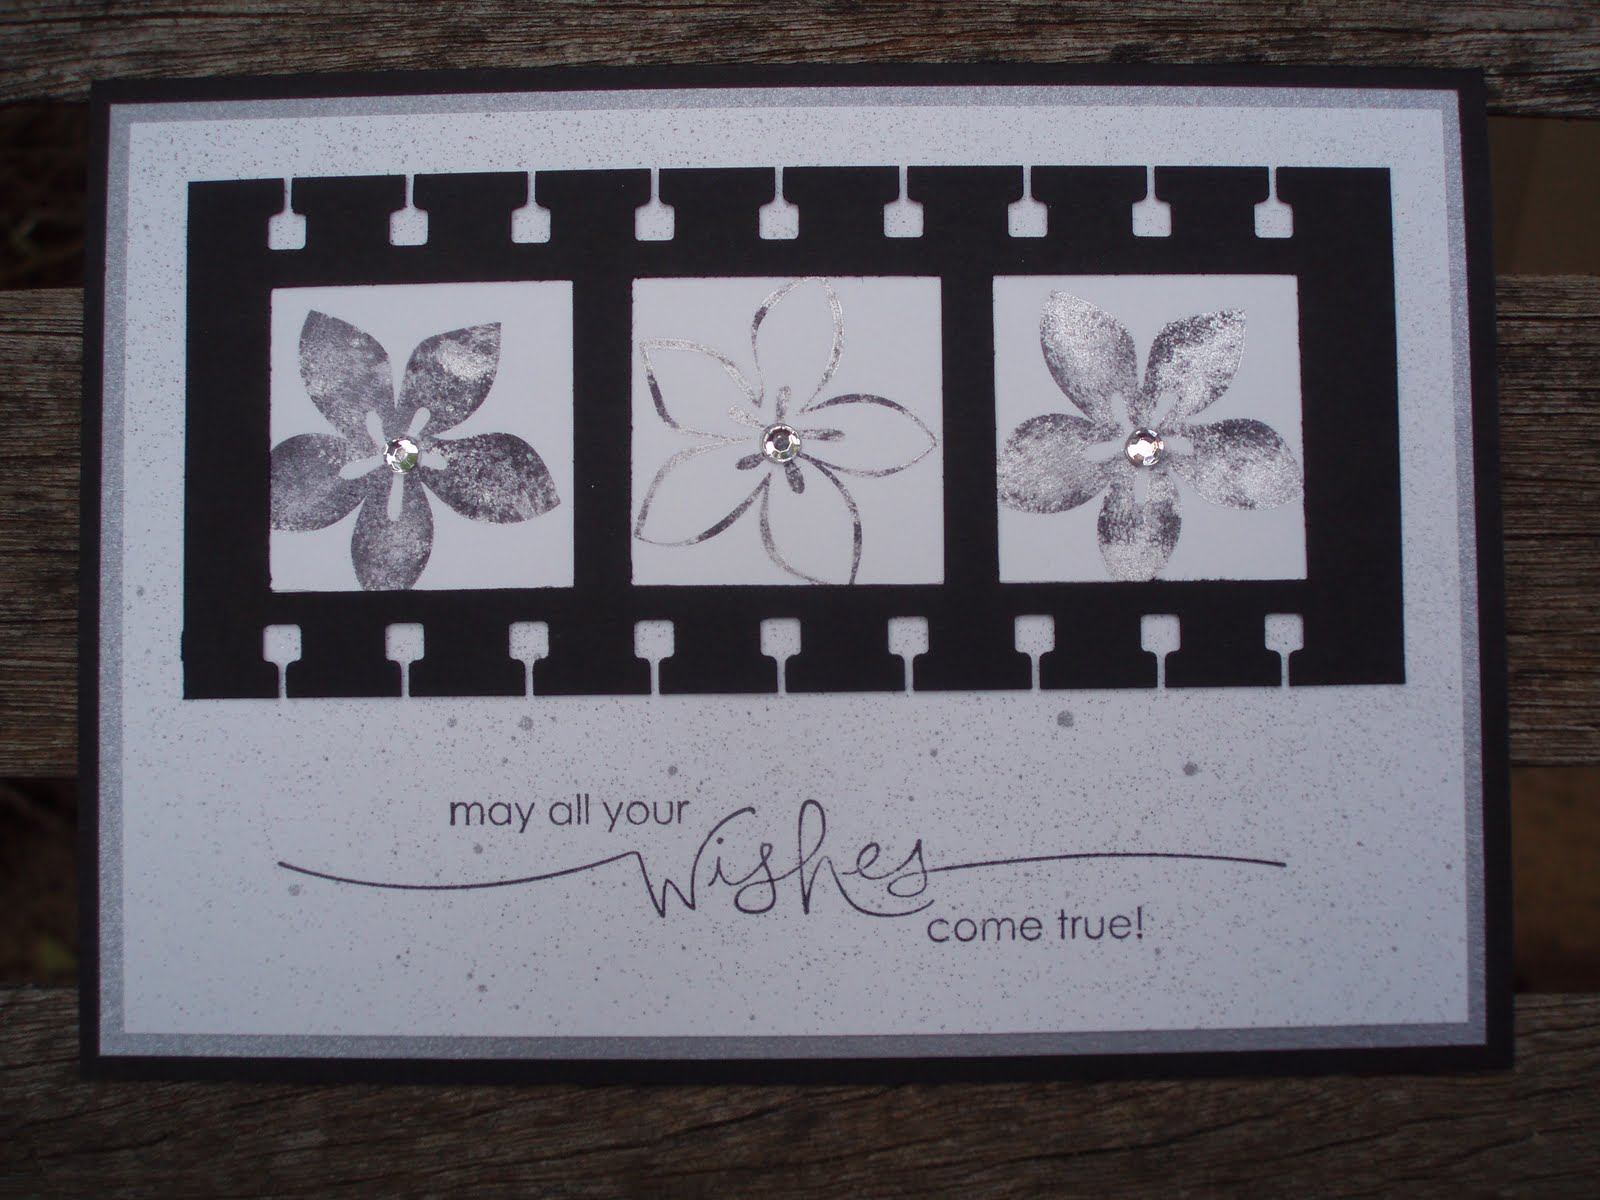
I also made another card in Basic Black, Whisper White & Brushed Silver.

I love the Classic look of this card. I have stamped with Basic Black ink onto the flower of the Cottage Garden Stamp Set and then using a dauber to lightly dab Platinum Shimmer Mist onto stamp. I love the light and dark it presents. I also used Silver Foil Smooch Spritz before putting the card together. I used the Heard from the Heart Stamp Set for the wording.

I did a trial run with the Platinum Shimmer Mist onto the Medallion Stamp and put directly onto Basic Black Cardstock. I then stamped another scrap piece of Basic Black CS with Platinum Shimmer Mist but this time I put more onto the stamp. Using a 1 3/4" Circle Punch I cut out the centre and placed onto the centre of the Medallion with a Stampin Dimensional. I then decorated it with a Basic Rhinestone. Using the Platinum Shimmer Mist I dabbed over some Basic Black Grossgrain ribbon. It came up quite nice dont you think!

We also did this Classic Black and White card but not with the card opening up in the centre. For this one I used Basic Black & Whisper White Cardstock. I used White & Black Embossing Powder on the Lovely As A Tree Stamp Set. Before putting the card together I spritzed with Silver Foil Smooch Spritz. The sentiment was from the Just Believe Stamp Set. This card would be great for Birthdays, Fathers Day, Achievements etc. That tree reminds me of the tree of life and so there are many thoughts that run through my head when I see a tree like this. It reminds me of growing, nurturing and the lessons learnt. The tiny buds that grow into full fledged leaves. I am a lover of nature so I stop and smell the roses basically. I love to look at the unseen world you might say. The tiny pieces of this tree that are almost naked to the eye without a microscope.

Its our Grandaughters 14th birthday today and she wanted a pink birthday card. This was my first choice using the Medallion and the Platinum Shimmer Mist. I love the way the Shimmer Mist shows up and still leaving the colour of the Melon Mambo. As you can see I have used a sentiment from Heard From the Heart as I simply love this set. I have also used some Basic Pearls for the bottom of the card. These Basic Pearls are gorgeous and they come in three sizes. The smallest ones are so tiny and very handy for different projects. Well I decided not to use this card but made another using Basic Black and Melon Mambo cardstock. I used Basic Black on the Medallion Stamp and then went over it with Platinum Shimmer Mist with a dauber and stamped straight onto the Melon Mambo cardstock. Again I have used the Heard From The Heart Stamp Set and some black pearls that I had laying around. Unfortunatel

y Stampin' Up! do not have the black pearls. Maybe oneday soon! I chose this one to give to our Grandaughter for her birthday. We had a lovely time at the park with her friends. Her mum organised to make Hamburgers on the BBQ that was available. We had a huge shelter and I brought the little gas oven with the kettle for us oldies who wanted their cuppas. It was lovely. The weather was on the cool side, quite amazing for this time of year. Only 26' and a few showers. The playground was huge so even at 14 the girls were off to play. Tonight we are off to the movies to watch Burlesque. I still cant believe our darling grandaughter is 14. Its scary! Happy Birthday Meg!
Please have a look for the upcoming dates for workshops held at my home. The lovely ladies always leave with at least three cards or a project and of course some afternoon tea and cake. The cost of the workshops are $15 and we have a lot of fun. If you are interested please feel free to email me and I can send you the details.
Thanks for popping by! :)


 The last project of the day was a simple one to finish it off. Easter is quickly approaching so I decided to do a theme of Easter. In this one I have used The Nicest Things stamp set and only used the cute little rabbit in the carrot pot. I guess he has eaten all the top cover of the plant, naughty little thing. There is not much to this card but it is still cute. I have used Old Olive, Cajun Craze and Very Vanilla cardstock. I stamped my image five time but colouring in only one of them with a blender pen using Crumb Cake, Cajun Craze and Old Olive Markers. I have used the Happy Easter stamp from the Teeny Tiny Stamp Set. I then went over the pot with Crystal Effects to give it a nice glazed finish. Isnt he cute?
 I made a few cards when trying to work out which one I was going to use for my workshop and here they are here. The first one is a Mothers Day card using the Punch Bunch stamp set from the Sale-a-bration mini catalogue. I have stamped my image and cut it out with the 1 3/8" circle punch and then using a dimensional I placed it on some Chocolate Chip CS after punching it out with the Scallop Circle Punch. With the actual stamp image when using the Scallop Circle punch it leaves part of the white card showing and I did not want this effect and that is why I cut it out using the circle punch. I went over the flowers with Champagne Mist Shimmer Paint and added a pearl for the final touch. I have used Chocolate Chip, More Mustard and Very Vanilla Cardstock and distressed the edges and sponging giving it a distressed look. I have also gone over the cardstock with the lovely large stamp from the Bliss stamp set, also from the Sale-a-bration mini catalogue. If you find you like these stamp sets, you only have until the end of this month to put your order in. Remember you will need to place an order of $100 or more to receive a stamp set for free.
 The other card I almost used for the workshop is this cute little Easter Card. The ladies loved this one. I decided not to use this one as when I finished I realised that I had used four different stamp sets. I have used The Nicest Things, Teeny Tiny Sentiments, Punch Bunch (for border) and Bliss (for wallpaper effect) Stamp Sets. I have made exactly the same card as the last one but making it an Easter card.
 Next workshop we will be making three cards and here is one of the cards below that we will be making. I apologise that I have used a discontinued paper (Cottage Wall) which looks lovely. I am sure it will look just as nice with the current DSP which looks exactly the same except that the colours in that set are in the new In Colours. This card is a Double Easel card which is so simple to make. The only thing you have to keep in mind is that the front panels swivel and you need to have an image that will work in two positions. Usually a round image or like I have done by cutting out flowers which do not matter which way you place them. I love this card pattern and can see myself using it quite a bit. What do you think?